Spa-Worthy Glow from a DIY Facial? Yes, Please!

For years, I had a nasty habit of waiting until my skin was wrecked to book a facial. Spas told me repeatedly that my skin would look and feel happier with regular appointments, but—to be honest—I'm too cheap to make that kind of financial commitment. (Even for my face.)
After a particularly trying cross-country flight, I was desperate to get a facial before an important meeting, and too late to squeeze in a spa appointment. Instead, I turned to Sephora for a solution. A staffer recommended the Ole Henricksen Power Peel kit ($50 for 6 treatments) followed by Glamglow's Thirsty Mud ($59). His advice: use the Power Peel exactly as instructed, and leave the Thirsty Mud on as a moisturizing mask overnight.
If you're thinking, "Well played, Sephora. Way to upsell dry skin to the tune of $109," I'm right there with you. Except it worked. Despite the dry plane air and the time difference and a lack of sleep, my skin perked up overnight.
Over the years, I've amped up the routine to include a facial steamer (which I got for free at an old job), my Clarisonic (a Christmas gift), an extraction tool (worth every penny), and occasionally cooling eyepatches (more conducive to multi-tasking than cucumber slices). The total for that haul is $391, (pre-tax). Expensive? Yes. But if you only bought the Power Peel kit once and never used any of the other products again, it would divide out to $65.16 per facial.
Down to give fresh-faced, no-makeup makeup a try? You're going to need happy skin, and this is one of the more affordable ways to get spa-worthy results at home. I'll walk you through it, step-by-step, including the parts you can skip if you want to save money. I've included links for all the products, as well as shoppable photos below.
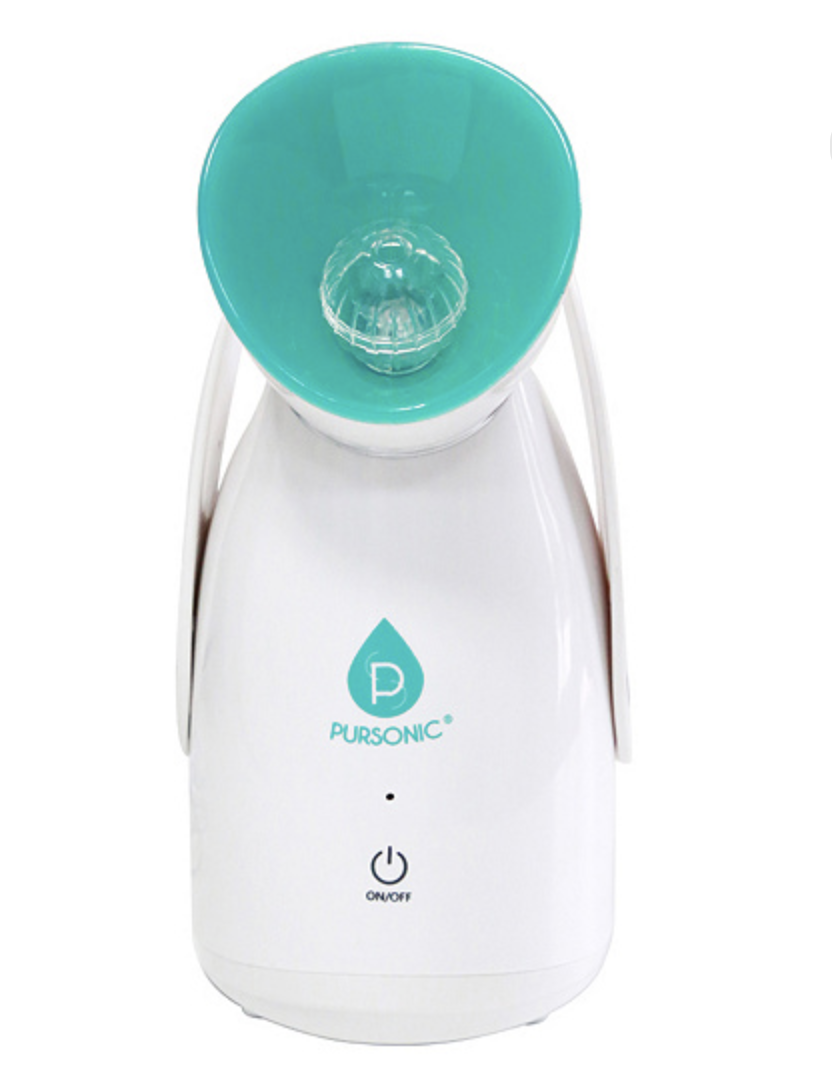
Before you get started, take off your makeup. (I use the Tatcha Pure One-Step Camellia Cleansing Oil, ($48); use what you like—makeup wipes, whatever.) My first step is steaming my face. I use a Panosonic Nano Facial Steamer that I got for free at an old job, but this Pursonic Steamer is a similar option for less than $40. To get similar results without more gadgets, boil water in a pot and use a towel to create a tent over the pot for a mini-steam room. Regardless of how you approach steaming, Allure says it's great for your skin, and they're kinda beauty experts.
The second step is extractions. Skip this step if you don't feel comfortable using an extraction tool, but I find it relatively easy—especially after opening my pores with steam. I use the longer, flat side of Sephora's 3-in-1 Extractor ($23) and it does wonders for my skin. Plus, it's oddly satisfying to clear out blackheads. Not sure how to do your own extractions? Watch this dermatologist-hosted video for tips.
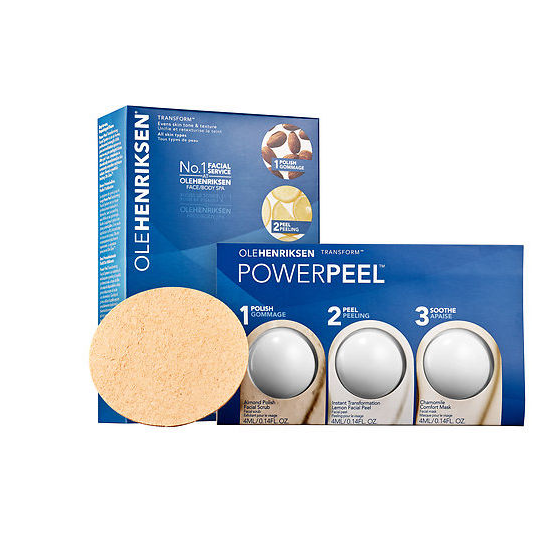
The third step in the DIY facial is the three-step Ole Henricksen Power Peel kit ($50). This is a professional-strength Alpha Hydroxy Acid (AHA) peel and microdermabrasion system. Each step is labeled in the packaging, so it's pretty foolproof.
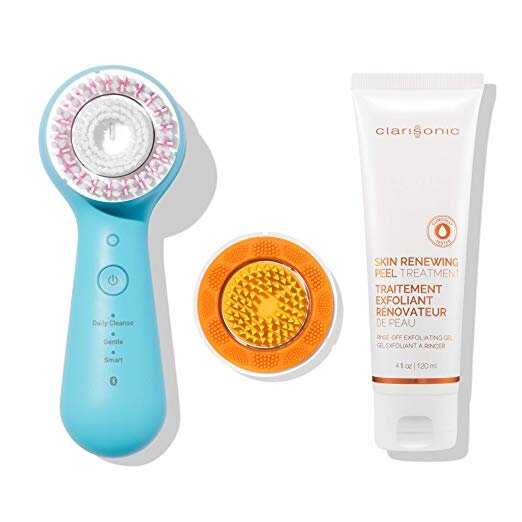
Begin with the Almond Polish Facial Scrub, which is the microdermabrasion step. I apply the scrub to my face and use my Clarisonic ($169) to work it in and remove dead skin. If that's too abrasive for you, just use your fingers or the sponges that come with the kit. After 1-2 minutes of gentle scrubbing, wash the Almond Polish off your face and pat your skin somewhat dry. Then apply the Instant Transformation Lemon Facial Peel. Leave the peel on for 1-2 minutes; absolutely no more. It's possible to give yourself a chemical burn if you leave a peel product on for too long, so set a timer. Finally, apply the Chamomile Comfort Mask on top of the Lemon Facial Peel. The mask will neutralize the peel. Leave it on for about 10-15 minutes, then rinse everything off.
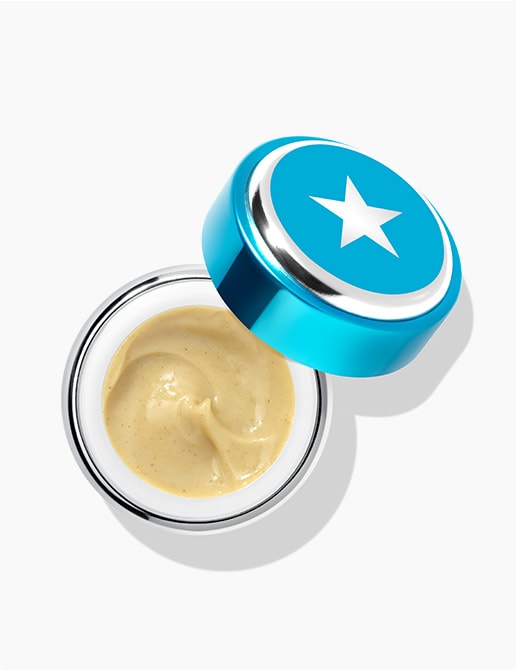
After you finish the mask, it's time to drench your skin with moisture. That's where the GlamGlow ThirstyMud ($59) comes in. The instructions say to leave the mask on for 10-20 minutes, then wipe or rinse it off. I find it works incredibly well as an overnight mask, so I've been leaving it on overnight for years.
For an extra boost around the eyes, I add the Patchology Eye Revive FlashPatch Rejuvenating Eye Gels ($50 for 30 pairs). For me, the advantage of the Patchology gels over standard cucumbers is I can sit up and read or work without the gels falling off my face. If you want pure relaxation time, save your money and use cucumber slices.
The entire process, from steaming and extractions to moisturizing mask, takes about 30-45 minutes. That's not an insignificant amount of time, but it's more convenient and less expensive than going to a spa for a treatment. If you're not sure about all the equipment, just pick up the Power Peel kit and the GlamGlow ThirstyMud at Sephora. While you're still spending $109, Sephora returns are easy if you're not impressed.
If you love it, keep up the routine about every two weeks. As long as you don't lose or break the steamer, Clarisonic, or extraction tool, you don't have to replace those, (although you should replace the Clarisonic brushes periodically). In my experience, the 1.7 oz. GlamGlow ThirstyMud and 30-pack of Patchology eye gels will last the year if you do biweekly facials. There are six treatments in each Power Peel kit, so you need four $50 kits per year. That brings your recurring facial costs to $309 per year, or $11.88 per facial. And with all the money you save on facials, you can start investing in regular massages.